Creating New Site on SecuRemote/SecureClient
After reboot, you will see the Check Point SecuRemote/SecureClient icon on your system tray.
*SecuRemote/SecureClient icon is the yellow key with red circle and "x" inside when disconnected, and just the yellow key when connected to VPN.
*System tray is found on the lower right corner of your Windows Machine.
Double click the Check Point SecuRemote/SecureClient icon.

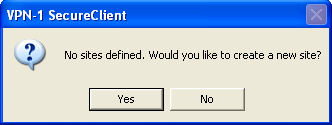
To create a new site, click "Yes"
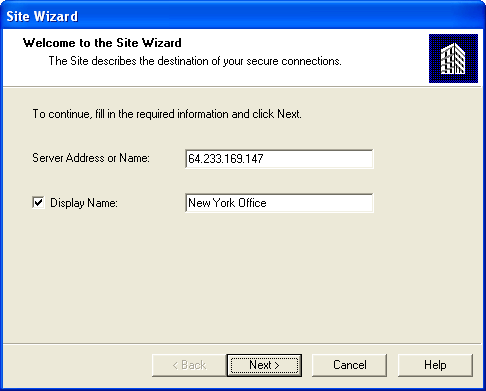
The "Server Address of Name" field will be given to you by your administrator depending on which site you are trying to connect. This is the firewall's external IP address. If you check "Display Name" checkbox, it will allow you to input a name to define the site the way you can easily recognize and distinguish. Later when the site is defined, you will see the string you typed in. In this example, we'll give a name to site "New York Office"
Click "Next"
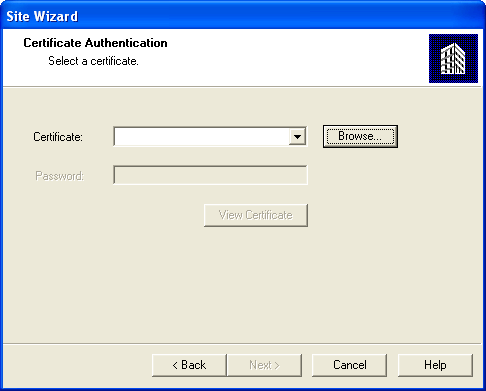
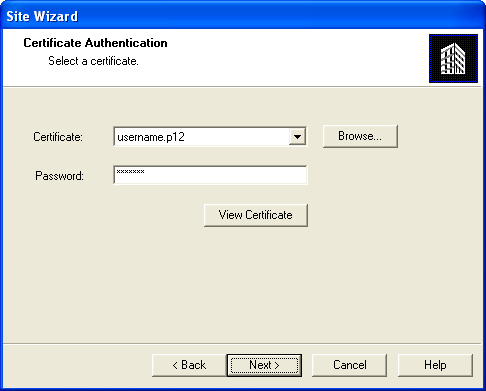
Choose "Certificate" and click "Next"

Browse your certificate file by clicking "Browse"
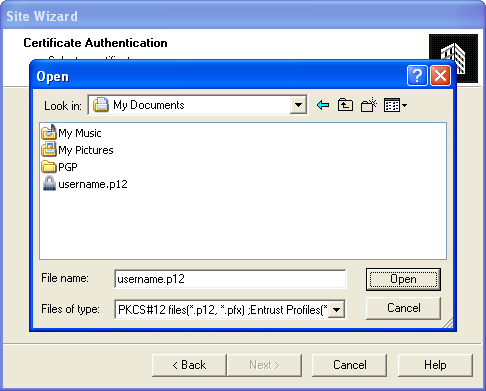
Browse your certificate file and click "Open". This certificate file is usually given to you by your network administrator accompanied by password and usually follows this naming convention: <username>.p12.
*Note: Once you browsed your certificate from a certain location, you should not change or delete it from its current directory. Otherwise, you will get an error and need to browse the file again.
Click "Next"
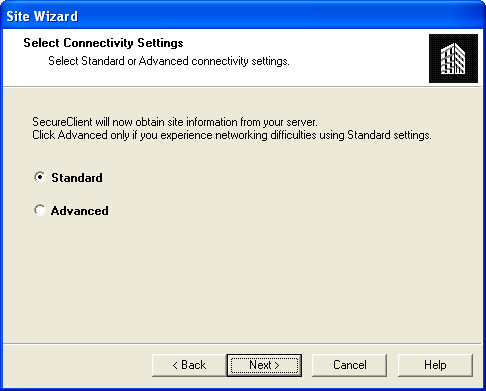
Choose "Standard" and click "Next"
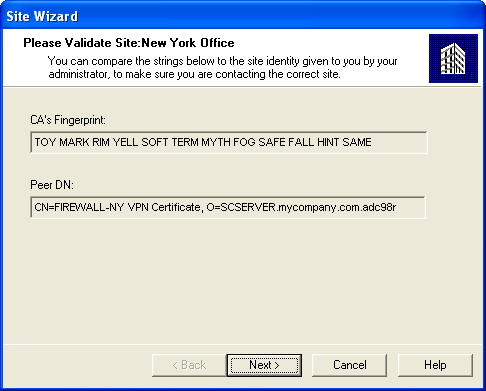
This page lets you verify the fingerprint of your CA (Certification Authority) if the site you are contacting is correct.
*Certification Authority is an entity which issues digital certificates. Each CA has unique fingerprint to validate their authenticity.
CA's fingerprint is composed of set of strings that identifies each CA.
After validating, click "Next"
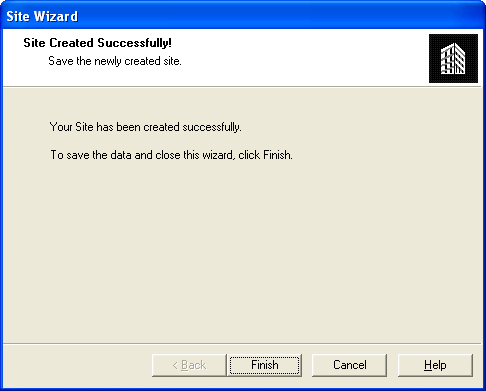
Site Created Successfully! - Click "Finish"
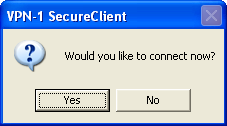
To connect - click "Yes"
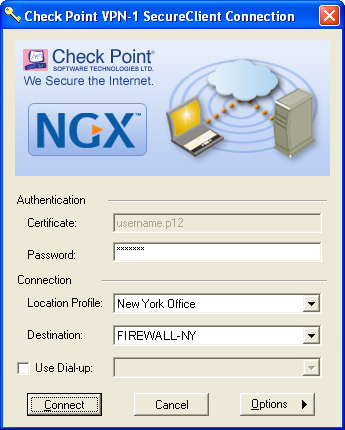
Type in your password and in the Location Profile, choose the Name of the site you created (In this example, New York Office). In destination field, choose the particular firewall you want to connect to (In this case, FIREWALL-NY)
Click "Connect"
Connection succeeded - Click "OK"
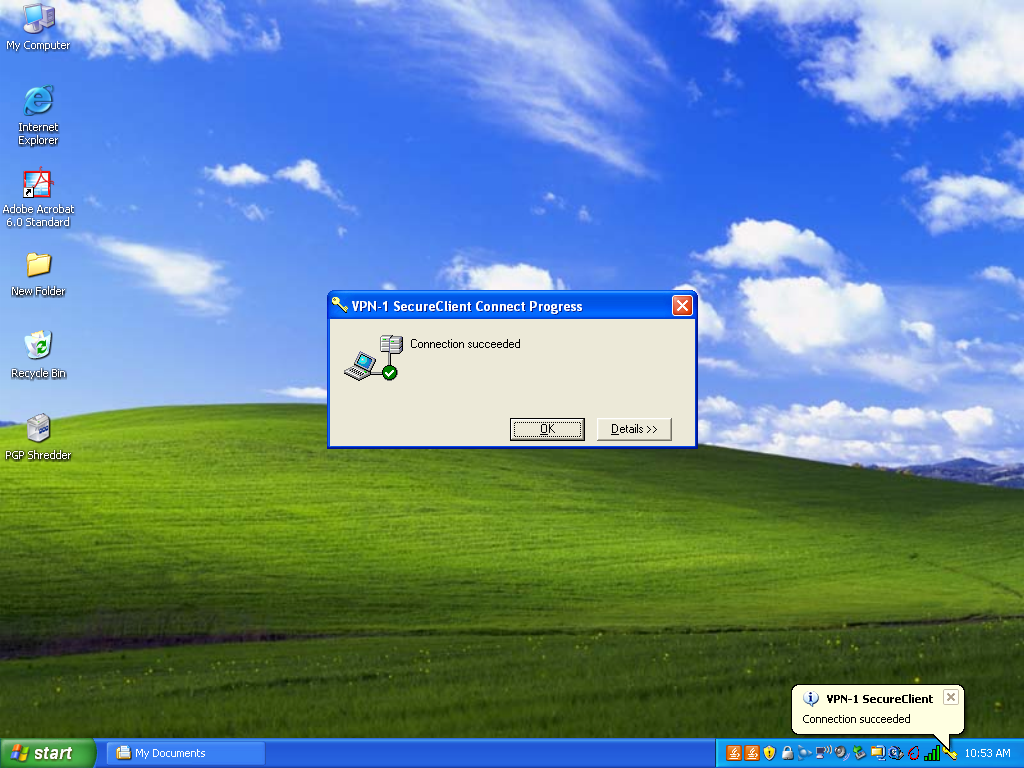
You are now connected to the VPN and will be able to access internal resources of your Company.